Inserting text boxes into custom labels
You can insert different types of objects into labels, such as text boxes, fields, barcodes, lines, and pictures.
Pre-requisites: You can edit existing labels. However, the best practice is to create a new label (which can be based on an existing label), and save the label with a new name. Refer to Creating new labels using the Label Designer for more information.
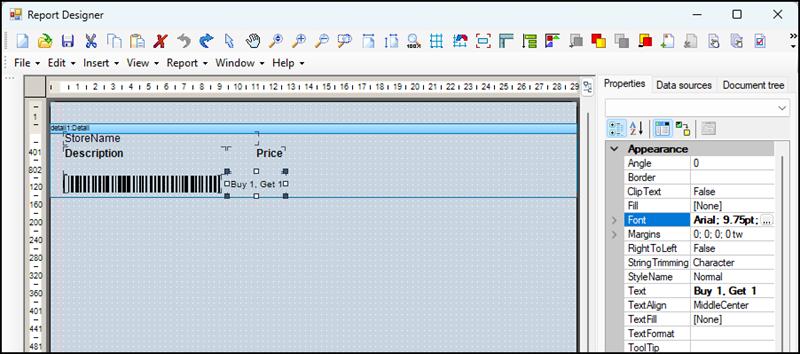
| 1. | Click Insert and select TextBox. The cursor changes to a pencil icon. |

| 2. | Click and drag to draw a text box. |
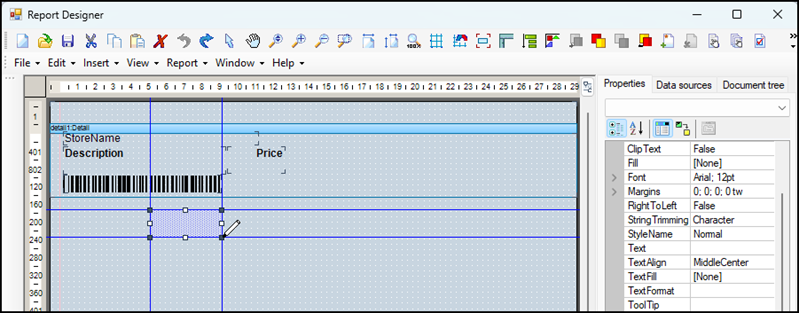
| 3. | On the Properties tab, under Appearance, enter the text that you want to display in the text box next to Text. |
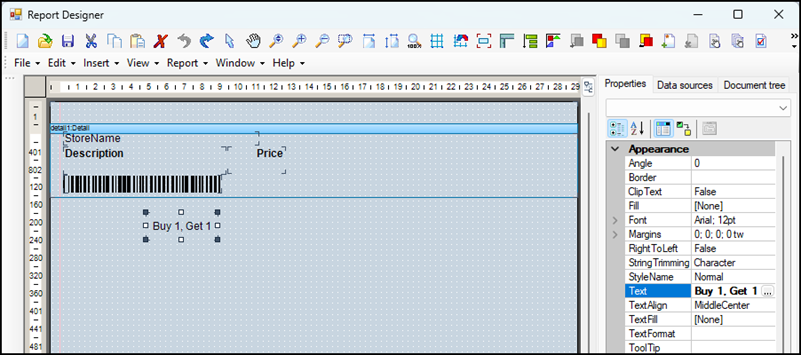
| 4. | Adjust the size and position of the text box in the label: |
| a. | Click the Select mode icon in the ribbon. |
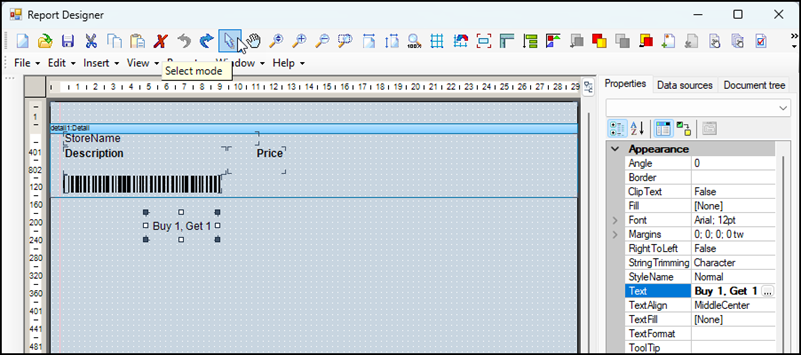
| b. | (Optional) Resize the text box. Start by clicking a corner or edge and dragging until the text box is the approximate size that you need. Continue to refine the text box size by entering specific measurements under Layout next to Size. |

| c. | (Optional) Adjust the position of the text box. Start by clicking and dragging the text box to the approximate position that you need. Continue to refine the text box position by entering specific measurements under Layout next to Location. |
Note: Make sure that the text box does not overlap with other objects in the label. Overlaps can cause printing issues.
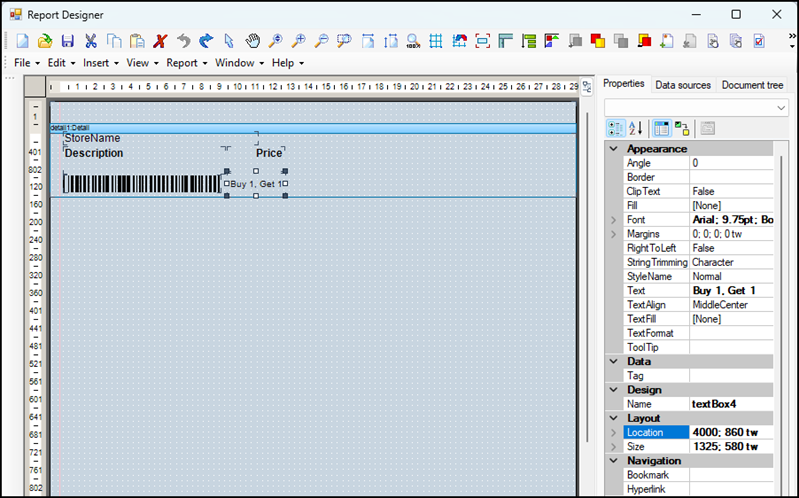
| 5. | (Optional) If necessary, adjust the font style and size under Appearance next to Font. |
| 6. | Save your changes. |
| 7. | Print the label to test the text box size and position, and the readability of the text. |