Inserting barcodes into custom labels
You can insert different types of objects into labels, such as text boxes, fields, barcodes, lines, and pictures.
Pre-requisites: You can edit existing labels. However, the best practice is to create a new label (which can be based on an existing label), and save the label with a new name. Refer to Creating new labels using the Label Designer for more information.
|
1.
|
Click Insert and select BarCode. The cursor changes to a pencil icon. |
|
2.
|
Click and drag to draw a barcode box. |

|
3.
|
Connect the barcode object to the item barcode type in the RMH database: |
|
a.
|
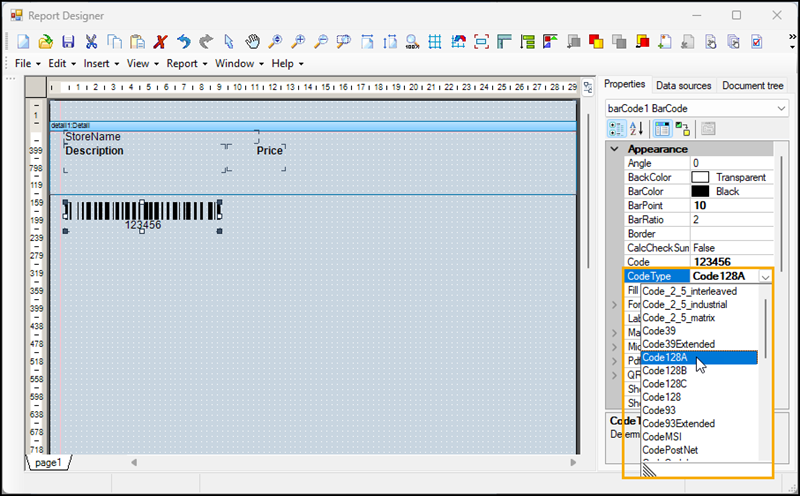
On the Properties tab, click the Properties icon. |

|
b.
|
Click the drop-down beside Code Type and select the barcode type, e.g., UPC, EAN. |

|
c.
|
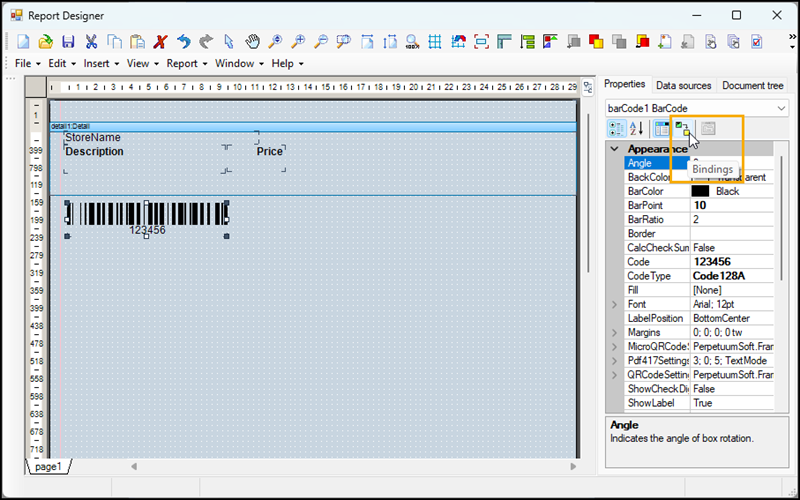
On the Properties tab, click the Bindings icon. |

|
d.
|
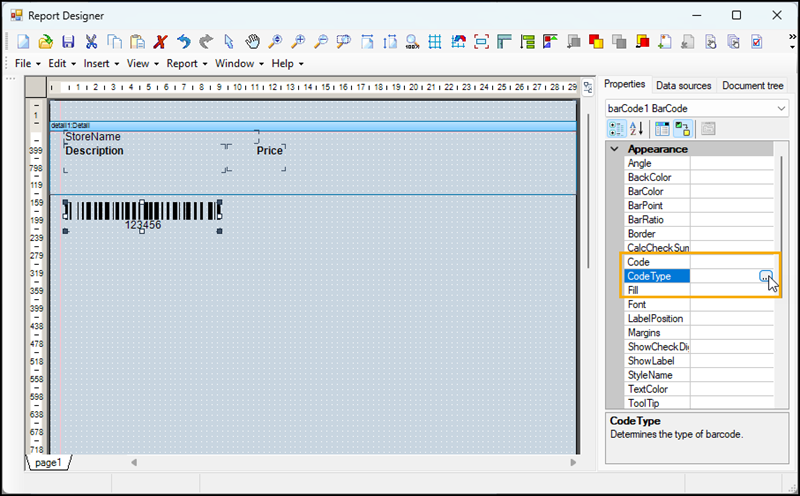
Under Appearance, click the ellipsis (...) beside Code Type. The Script Editor displays. |

|
e.
|
Click the Data Sources tab. |
|
f.
|
Expand NewDataset, expand Table, and double-click BarcodeFormat. A SQL command is inserted that will look up the barcode format that is assigned to the item in the RMH database. |

|
g.
|
(Optional) Edit the script to call the PerpetuumSoft Framework for barcode formats. For example: |
(PerpetuumSoft.Framework.Drawing.BarCodeType)Convert.ToInt16(GetData("NewDataset.Table.BarcodeFormat"))
Note: If you do not call the PerpetuumSoft Framework, the barcode will not display or print properly on the label. Refer to the Report Sharp-Shooter User Guide from Perpetuum Software for more information.
|
4.
|
(Optional) Display the Item Lookup Code under the barcode: |
|
a.
|
On the Properties tab, click the Bindings icon. |

|
b.
|
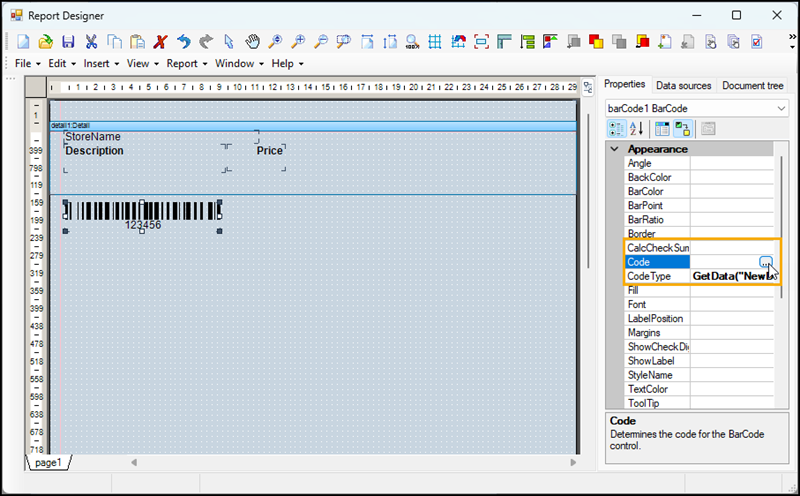
Click the ellipsis (...) beside Code. The Script Editor displays. |

|
c.
|
Click the Data Sources tab. |
|
d.
|
Expand NewDataset, expand Table, and double-click ItemLookupCode. A SQL command is inserted that will look up the Item Lookup Code in the RMH database. |

|
5.
|
Adjust the barcode position on the label: |
|
a.
|
On the Properties tab, click the Properties icon. |
|
b.
|
Click the Properties icon. |

|
c.
|
Under Layout, adjust the Location and Size. |
Note: Make sure that the barcode does not overlap with other objects in the label. Overlaps can cause printing issues.

|
7.
|
Print the label to test the barcode size and location, and the readability of the text. |


