Install and configure Central Client
Pre-requisites: You must install .NET on any computer running an RMH app, including Central Client. Refer to Install .NET for more information. You must also install the Flash Bridge app on any computer running Central Client. Refer to Install and configure the Flash Bridge for more information.
You can install Central Client on the same computer where Store Manager is installed, or on a store server, management computer, or standalone computer.
Tip: You may find it helpful to refer to the RMH Flash Applications Installation Checklist for more information about installing and licensing the Flash-based product suite.
| 1. | Go to the location where you extracted the release package files. |
| 2. | Double-click Setup.exe to open the setup wizard. |
Note: You must have administrative privileges on the computer to install RMH apps.
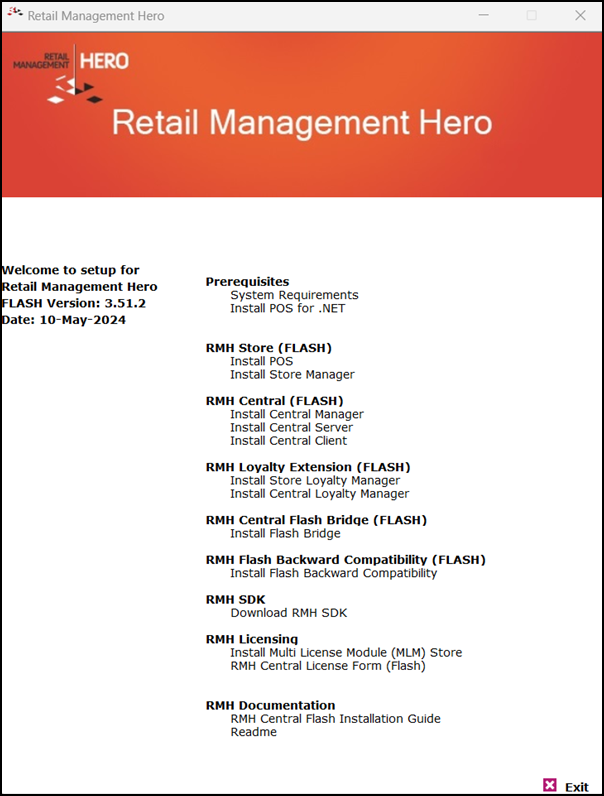
| 3. | Under RMH Central (FLASH), click Install Central Client. |
Note: Alternately, you can go to the RMH Central Client folder and double-click RMH.Central.Client.Setup.msi.
| 4. | Click Next. |

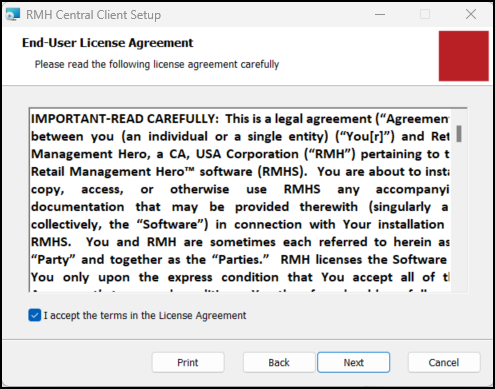
| 5. | On the End-User License Agreement screen, select I accept the terms in the License Agreement, and click Next. |
| 6. | On the Destination Folder screen, select the installation folder for Central Client and click Next. |

| 7. | Click Install. |
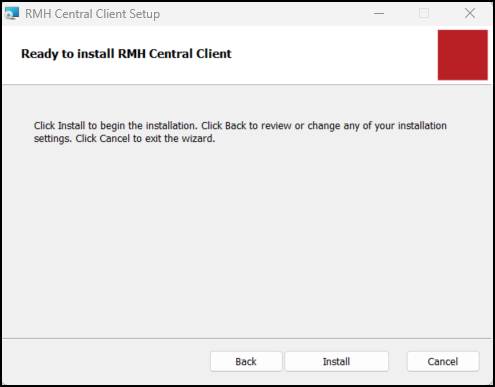
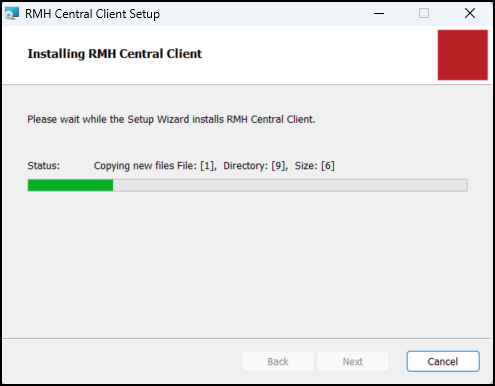
| 8. | Wait while installation is completed. This may take a few minutes. |
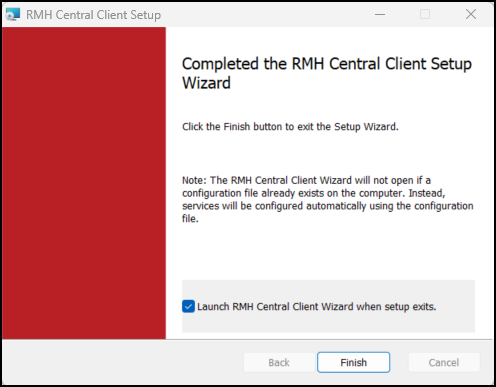
| 9. | Confirm that Launch RMH Central Client Wizard when setup exits is selected and click Finish. |
Note: If a configuration file already exists on the computer, the RMH Central Client Wizard will not open even if this option is selected. Instead, services are configured automatically using the configuration file.
Tip: You can manually launch the RMH Central Client Wizard using the RMH.Central.Communication.Store.Wizard.exe executable, which is usually located under C:\Program Files (x86)\Retail Hero\RMH Central Flash Client.
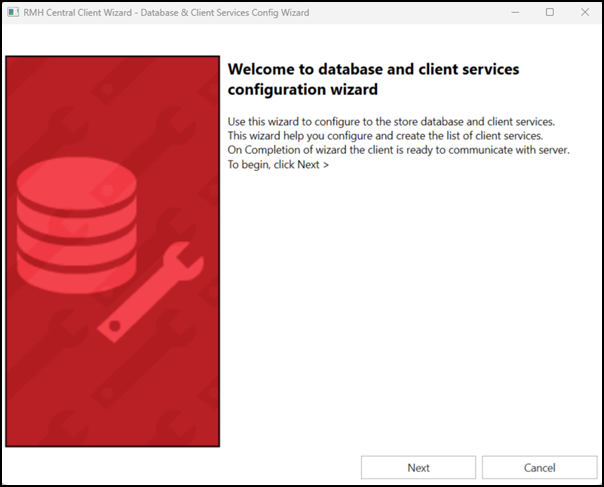
| 10. | Click Next. |
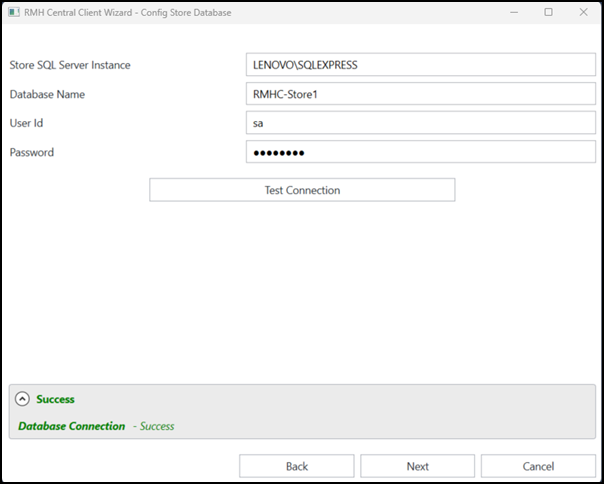
| 11. | Configure the connection to the SQL Server and the store database. |
-
Store SQL Server Instance: Enter the host name or the IP address of the computer where you installed SQL Server, a backwards slash (\), and the name of the SQL Server instance if you are using a named SQL Server instance.
-
Database Name: Enter the name of the store database.
-
User ID: Enter the User name for the system account.
-
Password: Enter the Password for the system account.
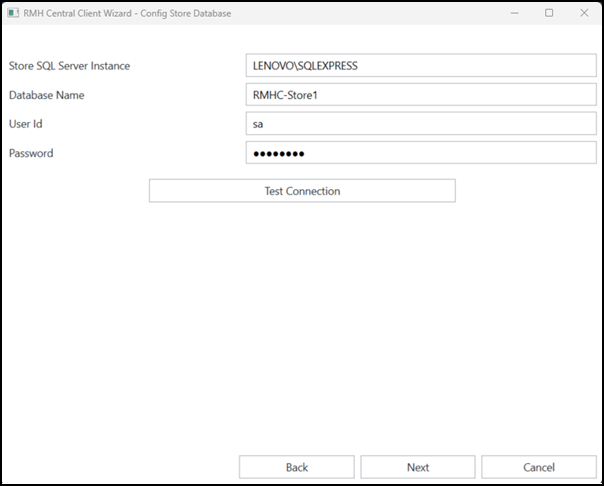
| 12. | Click Test Connection. If the connection to the SQL Server and store database is successful, click Next. |
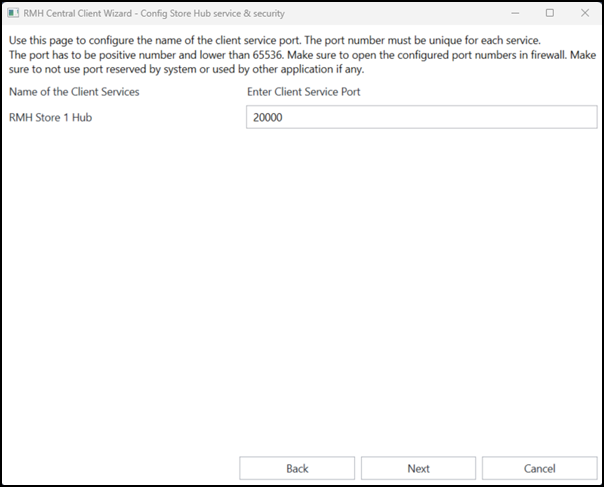
| 13. | Enter the port for RMH Store Hub, e.g., 20000, and click Next. |
| 14. | Enter the ports for Central Client Services and click Next. |
-
RMH Store 1 Input Gateway
-
RMH Store 1 Job Processor
-
RMH Store 1 Output Gateway
-
RMH Store 1 Custom
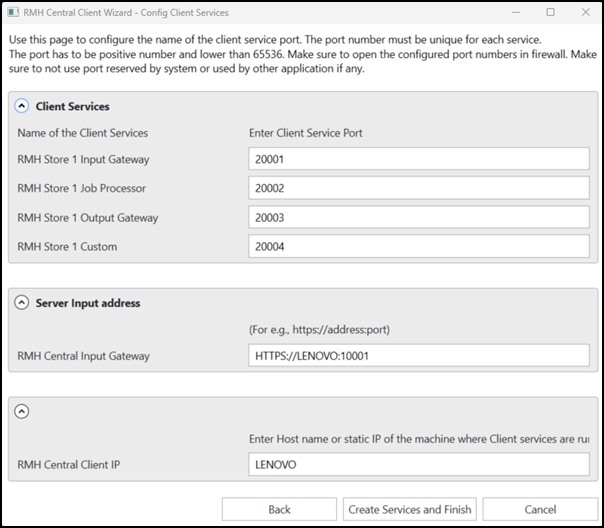
| 15. | Enter the RMH Central Input Gateway. This is the host name or static IP address of the computer where the server services are running and the port for the RMH Central Input Gateway service. |
Note: You must use the same port that you entered in the RMH Central Input Gateway field when you configured the Central Server services.
| 16. | Enter the RMH Central Client IP. This is the host name or static IP address of the computer where the client services are running. |
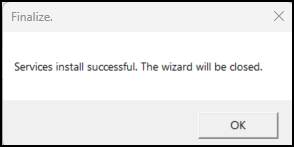
| 17. | Click Create Services and Finish. The services are configured. |
| 18. | Click OK. |