Install and configure the Flash Bridge
The Flash Bridge app must be installed on any computer running a centrally-managed app (Central Manager, Central Server, Central Client, centrally-managed Store Manager, centrally-managed POS, Central Loyalty Manager). The Flash Bridge app acts as a vault where packages are stored until they can be processed and synchronized between Central Client and Central Server. The Flash Bridge app is not required in single-store installations.
Tip: You may find it helpful to refer to the RMH Flash Applications Installation Checklist for more information about installing and licensing the Flash-based product suite.
To install the Flash Bridge app:
|
1.
|
Go to the location where you extracted the release package files. |
|
2.
|
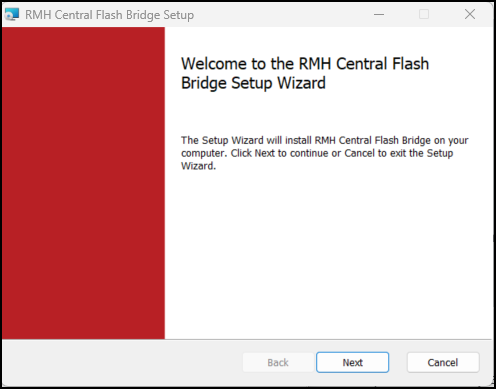
Double-click Setup.exe to open the setup wizard. |
Note: You must have administrative privileges on the computer to install RMH apps.
|
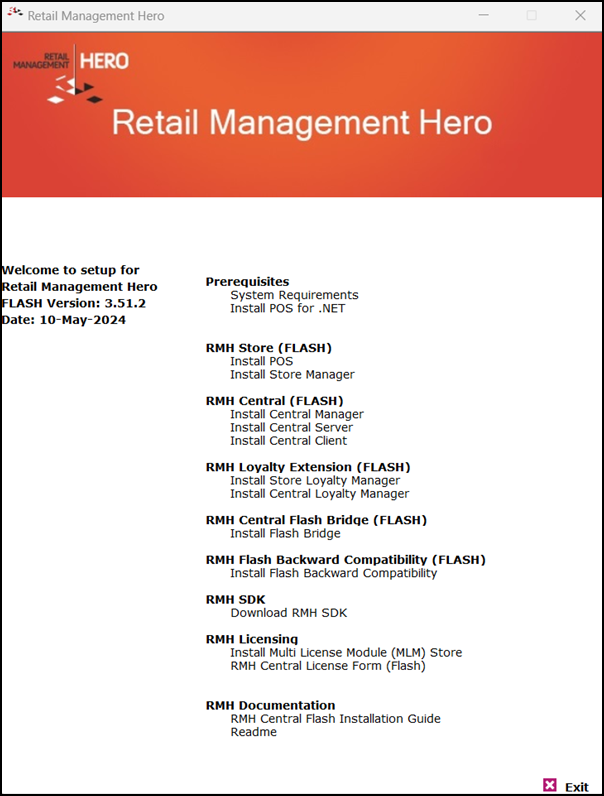
3.
|
Under RMH Central Flash Bridge (FLASH), click Install Flash Bridge. |
Note: Alternately, you can go to the RMH Central Flash Bridge folder and double-click RMH.CentralFlashBridgeAppInstaller.msi.
|
5.
|
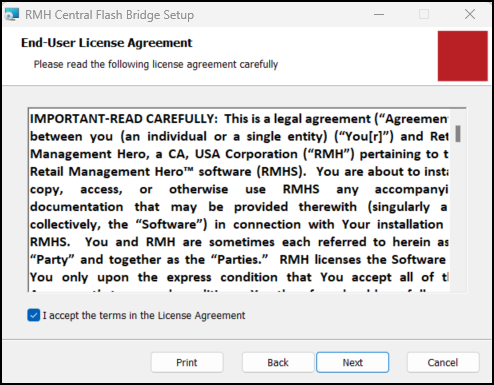
On the End-User License Agreement screen, select I accept the terms in the License Agreement and click Next. |
|
6.
|
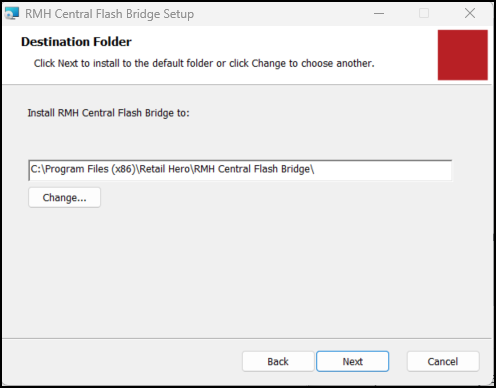
On the Destination Folder screen, select the installation folder for Flash Bridge and click Next. |
|
8.
|
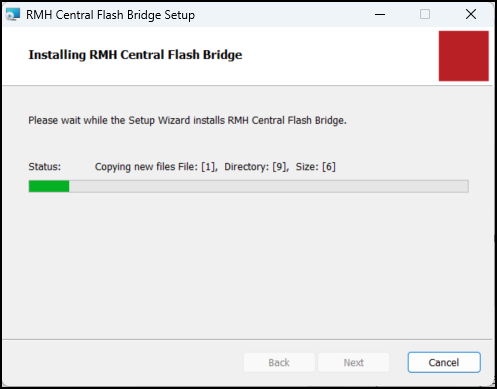
Wait while installation is completed. This may take a few minutes. |
Note: If there are jobs waiting to synchronize, you will see a shortcut to the Flash Bridge app in the computer's system tray.
To configure the Flash Bridge app for Central Client and Central Server:
|
1.
|
Open Central Client or Central Server. |
|
3.
|
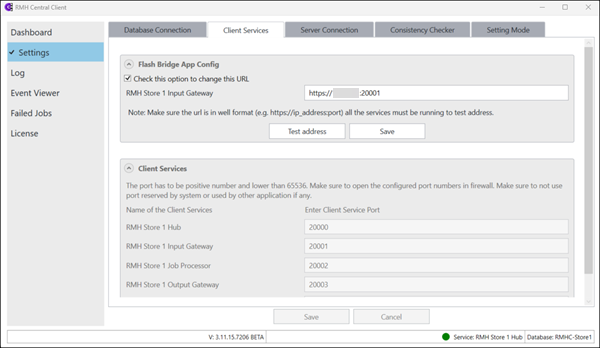
For Central Client, do the following: |
|
a.
|
On the Client Services tab, select Check this option to change this URL. |
|
b.
|
Enter the host name and port for the RMH Store [number] Input Gateway. |
|
c.
|
Click Test address to verify the address. |
|
d.
|
Click Save. The host name and port are saved to the Store Manager database. The Flash Bridge app will use this host name and port to send data packages/jobs to the Central Client to synchronize to Central Server and Central Manager. |
|
4.
|
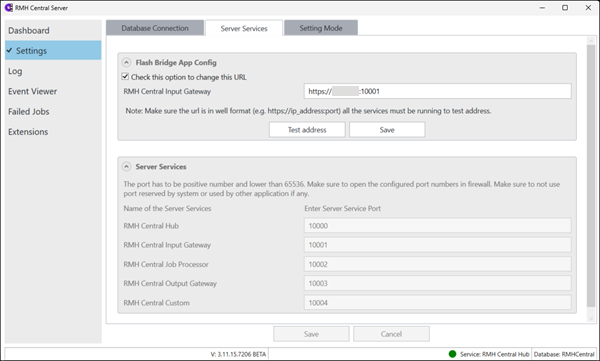
For Central Server, do the following: |
|
a.
|
On the Server Services tab, select Check this option to change this URL. |
|
b.
|
Enter the host name and port for the RMH Central Input Gateway. |
|
c.
|
Click Test address to verify the address. |
|
d.
|
Click Save. The host name and port are saved to the Central Manager database. The Flash Bridge app will use this host name and port to send data packages/jobs to the Central Server to synchronize to Central Client/stores. |
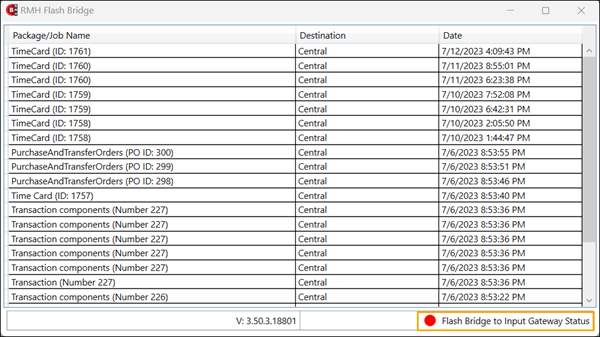
To check if the Flash Bridge app is connected:
|
2.
|
Double-click the Flash Bridge icon. |
Note: If the Flash Bridge icon is not visible in the system tray, open Settings, click Personalization | Taskbar, and expand Other system tray icons. Beside RMH.Central.FlashBridge.Application, drag the slider to On. You will need to restart the computer for the icon to display in the system tray.

|
3.
|
Check the connection status indicator in the bottom right corner of the RMH Flash Bridge window. If the indicator is green, the Flash Bridge is connected. If the indicator is red, the Flash Bridge is not connected and no packages are being processed and synchronized between Central Client and Central Server. |