Generating physical inventory reports
Pre-requisites: You have generated a physical inventory file and saved it under a unique reference number.
| 1. | Click Reports. |
| 2. | Click Active Reports. |
| 3. | Expand Physical Inventory Count. |
| 4. | Select one of the following reports: |
-
Physical Inventory Report (Detailed)
-
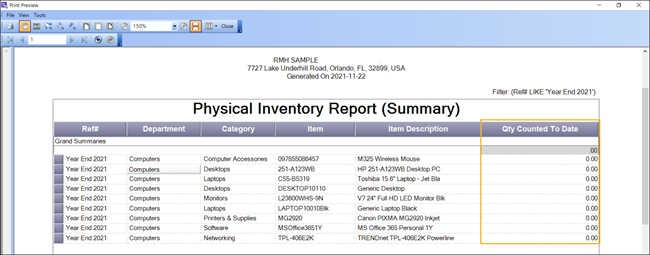
Physical Inventory Report (Summary)
| 5. | Use the Filter dialog to look up the physical inventory list based on the reference number: |
| a. | From the Field drop-down, select Ref#. |
| b. | From the Operator field, select either = or LIKE. |
| c. | In the Value field, enter the reference number of the physical inventory list you want to use. |
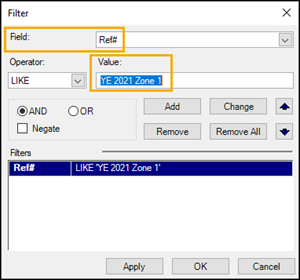
| d. | Click Add. |
| e. | Click OK. |
| 6. | Click Layout. |

Add or remove columns based on how you intend to use the report results.
| If you want to... | Include these columns... |
|---|---|
|
Print the report so team members can write down inventory count quantities by hand |
Tip: Do not include Expected Qty. This can lead to confusion amount team members, who may think their count is complete once they have counted the expected number of items. |
|
Export the physical inventory count file to CSV so that it can be imported into a hand-held device for the inventory count |
|
|
Print or create a PDF of the final physical inventory count result and calculations |
|
| 7. | Click OK. |
| 8. | Click Print. The physical inventory report displays in the Print Preview screen. |
| 9. | Change the printing preferences as required. |
| 10. | Click Print. |