Setting up lot matrix items
Note: It is recommended that you set up suppliers before you enter a large number of items.
|
3.
|
To add a new item, click New. |
|
4.
|
Select Lot Matrix Item and click OK. |
|
5.
|
In the Lot Matrix Lookup Code field, type the UPC code or a unique lookup code for the lot matrix item. |
|
6.
|
In the Description field, type the name or description of the lot matrix item. |

|
7.
|
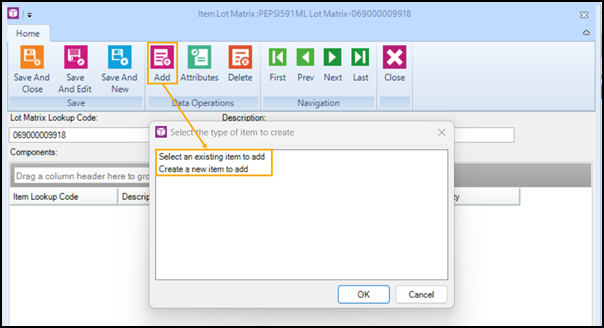
Under Data Operations, click Add. |
|
8.
|
Select one of the following: |
-
Select an existing item to add: Select this option to add items that already exist in the database.
-
Create a new item to add: Select this option to launch the New Item Wizard and add a new item to the database.
|
10.
|
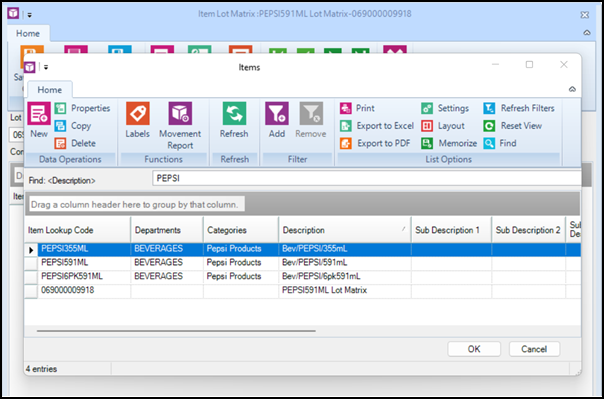
If you chose Select an existing item to add: |
|
a.
|
(Optional) Click a column heading, click in the Find field, and enter a search term for the item. |
|
b.
|
Double-click the item, or select the item you want to add and click OK. |
|
11.
|
If you chose Create a new item to add: |
|
a.
|
On the Welcome screen of the New Item Wizard, click Next. |
|
b.
|
From the Type drop-down, select Standard. |
|
c.
|
For Lookup Code, enter the item's UPC or a unique item lookup code. |
|
d.
|
Enter a unique Description for the item. |
|
e.
|
Enter the initial on hand Quantity for the item. |
|
f.
|
Enter a Price and Cost for the item. |
|
g.
|
Select a Department, Category, and Supplier. |
|
h.
|
(Optional) Enter the Bin Location, if applicable. |
|
i.
|
Select the Bar Code type. |
|
j.
|
Select the default Item Tax. |
|
m.
|
A confirmation message displays. Click Yes to continue. |
|
12.
|
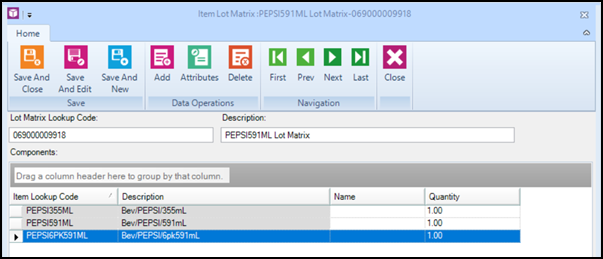
Continue adding items until all required items are included in the lot matrix item. |
|
13.
|
Click Save And Close. |