Exploring the POS window
The best way to learn about the POS screen is to see it in action!
Note: The following video is also available on the training.rmhpos.com site.
If you are working offline or you simply prefer reading instead of videos, here is a quick introduction to the key features of the POS window:

Title bar
In the title bar (A), at the top of the window, you can change the size of the POS window by selecting one of the pre-defined window sizes. (You can also click and drag the edge of the window until the window is the desired size.) You will probably want the POS window to fill the screen so it's easy to see customer information and transaction details.
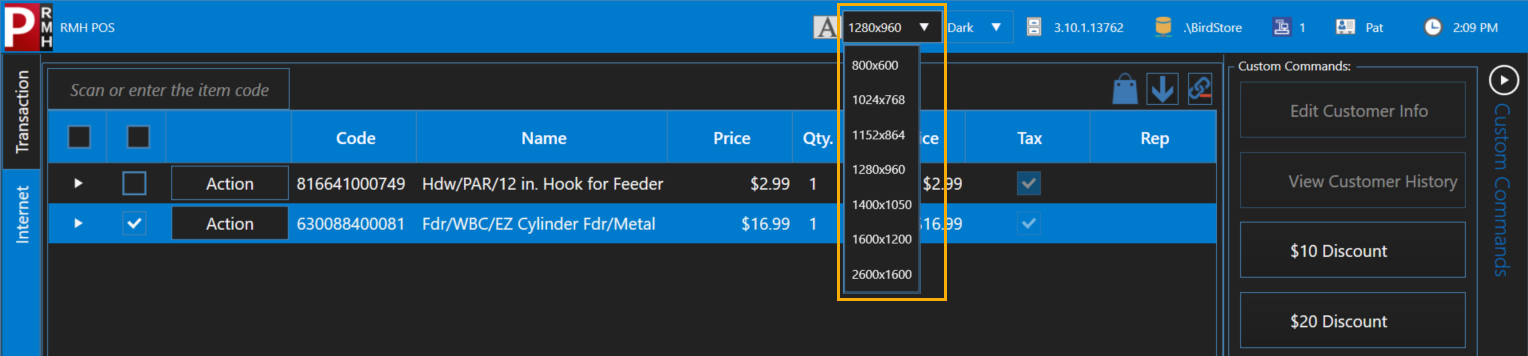
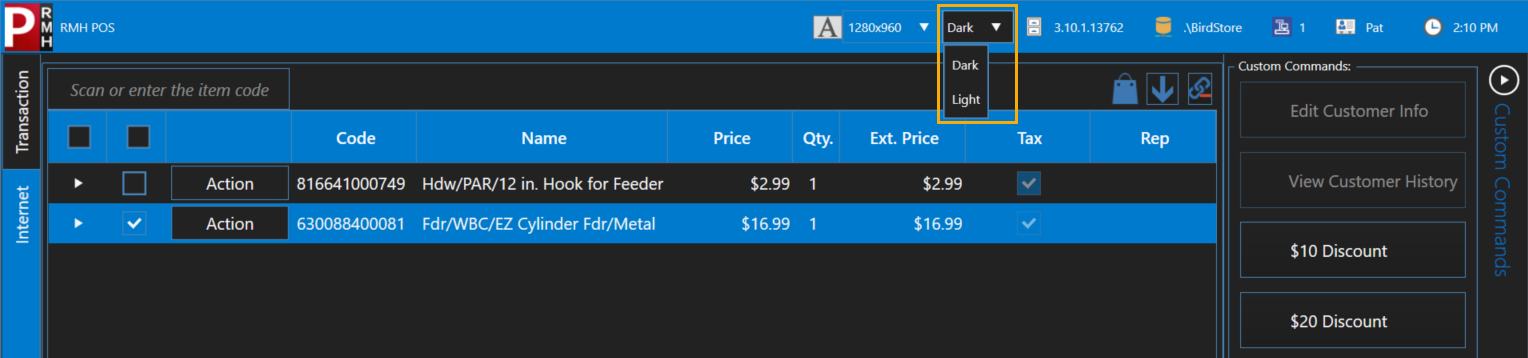
You can also use either a high-contrast dark skin or a low-contrast light skin for the window. Choose a skin that makes it easy for you to read the transaction details on the screen.
The title bar also shows information about POS, such as the store's weights and measures (WAM) certification number (not shown in screen shot), the POS software version, the name of the database that POS is connected to, the register number, the user name of the cashier who is logged in, and the current time.
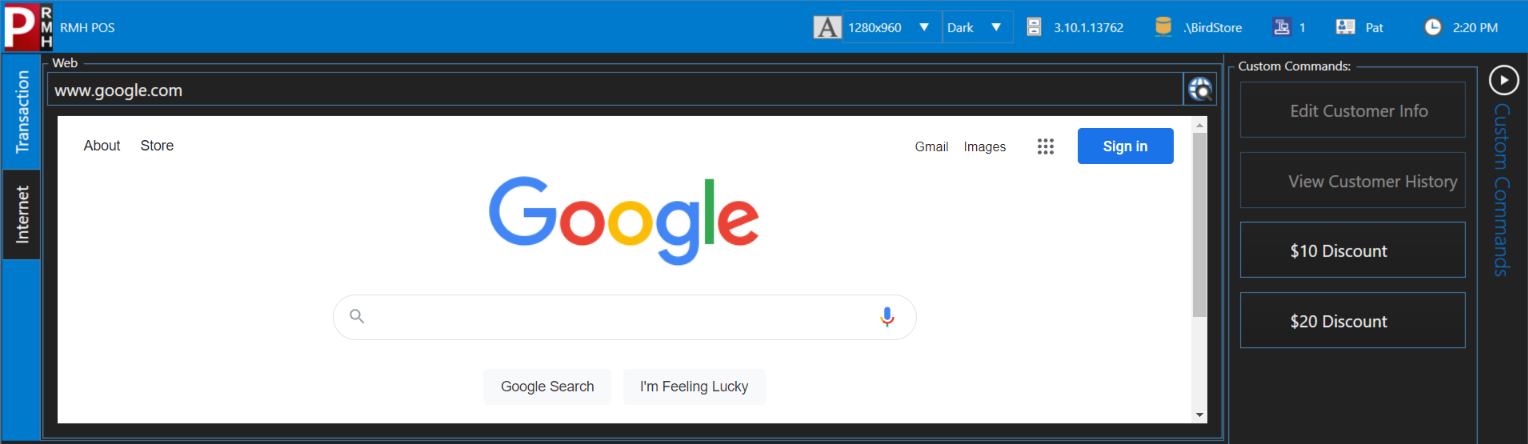
Transaction tab and optional Internet tab
You will notice that there are two tabs (B) to the left of the window. You will spend most of your time on the Transaction tab.
Your store has the option to integrate a web site into POS on the Internet tab, such as a search site like Google, the store's e-commerce site, a supplier's site, or a shipping company's site.
Warning! Once the Internet tab is enabled, store employees can use it to navigate to various internet sites. This can expose the store to risk.
Lookup field
A common feature of the POS window is the lookup field (C). There are different kinds of lookup fields. The item lookup field is used to look up items. There is also a customer lookup field, a sales representative lookup field, a transaction lookup field, and so on.
Transaction list
The most important part of the POS window is the transaction list (D). This is where you can see all of the items in a transaction, and details such as the item lookup code, name, price, item quantity, and so on.
Transaction summaries
Another important part of the POS window is the transaction summary (E, F), below the transaction list. This is where you can easily see the number of items in the transaction, any savings the customer is getting because of sales or discounts, as well as the item subtotal, taxes, and transaction total.
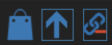
POS mode and transaction list controls
Above the transaction list are three icons (G):
The first icon indicates the POS mode, such as sale, return, quote, work order, layaway, and so on. The default POS mode is sale. The icon that displays indicates the active POS mode.
The second icon indicates whether new items will be added to the top or bottom of the transaction list. If the arrow is pointing up, new items will be added to the top of the transaction list. If the arrow is pointing down, new items will be added to the bottom of the transaction list. Click the icon to change the order.
The third icon indicates whether roll up is on or off. If roll up is on and you scan the same item at different times during the transaction, the items are consolidated on one line in the transaction list. If roll up is off, each item displays on a separate line in the transaction list.
Note: Items will not roll up if any of the following conditions exist: there is a quantity discount applied to the item, the item is sold with a tag-along item, or the cashier must enter the item price in POS.
Function buttons
Below the transaction summary is a row of function buttons (H). You can use these buttons to perform specific tasks in POS, such as looking up items or customers, tendering the sale, applying discounts, and so on.
Optional keyboard
Below the row of function buttons is an optional on-screen keyboard (I). You would use the on-screen keyboard if, for example, your store uses touchscreen monitors in POS lanes instead of regular computer keyboards. You can show and hide the keyboard by clicking the Keyboard drop-down button.
Optional custom commands
To the right of the window you may see a list of buttons in the Custom Commands pane (J). Your store has the option to define its own custom buttons to provide shortcuts for common tasks such as looking up customers or sales representatives, applying dollar or percent off discounts, or tendering common cash denominations such as 20s, 50s, or 100s.