Assign a static IP address
After you disable DHCP for the RMH subnet, you need to assign a static IP address to all store computers and peripheral devices that need to access the RMH network.
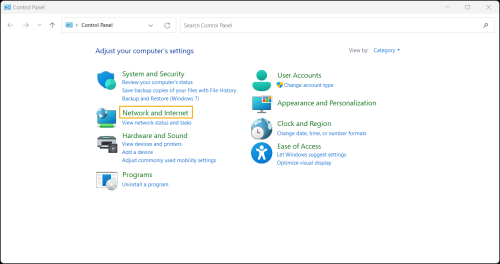
| 1. | Open Control Panel. To do this, click Search, type Control Panel, and press Enter. |
| 2. | Click Network and Internet. |
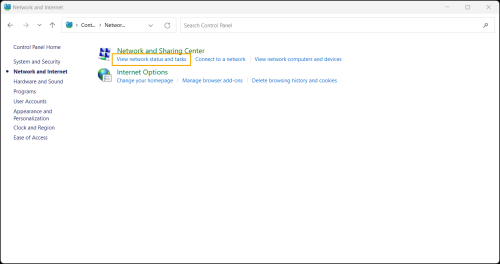
| 3. | Under Network and Sharing Center, click View network status and tasks. |
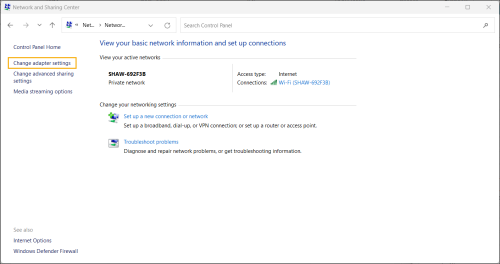
| 4. | Click Change adapter settings. |
| 5. | Double-click the computer's physical network connection (Ethernet adapter). |
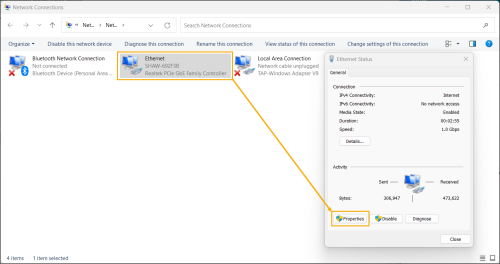
| 6. | Click Properties. |
| 7. | On the Networking tab, ensure that Internet Protocol Version 4 (TCP/IPv4) is selected. |
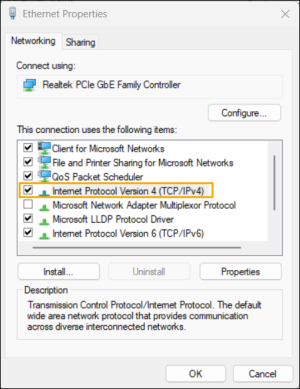
| 8. | Click Properties. |

| 9. | Select Use the following IP address and enter the following: |
-
IP address: Enter the IP address for the computer. Each computer connected to the network must have a unique IP address, e.g., 192.168.9.151 (POS lane 1), 192.168.9.152 (POS lane 2), 192.168.9.153 (POS lane 3).
-
Subnet mask: Use the same subnet mask for every computer on the network.
-
Default gateway: Enter the IP address for the router, e.g., 192.168.9.1.

| 10. | Select Use the following DNS server addresses and enter the following: |
-
Preferred DNS server: Enter the IP address for the router, e.g., 192.168.9.1.
-
Alternate DNS server: Enter the IP address of a public DNS server, e.g., 8.8.8.8 for Google.
| 11. | Click OK. |
| 12. | Click OK. |
| 13. | Click Close. |