Making items active/inactive
You can use the Inventory Wizard to make items active or inactive.
|
2.
|
Click Inventory Wizard. |
|
4.
|
From the Tasks drop-down, select one of the following: |
|
6.
|
Select one of the following: |
-
Use items in these departments
-
Use items in these categories
-
Use items in these suppliers
-
Item filter
|
7.
|
If you selected departments, categories, or suppliers, do one of the following: |
-
Select specific departments, categories, or suppliers
-
Click All to select all departments, categories, or suppliers
|
8.
|
If you selected Item filter: |
|
b.
|
Use the Filter dialog options to identify items. |
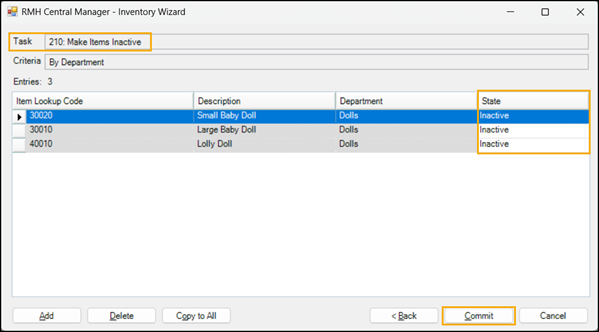
Depending on which task you selected, the State will be either Active or Inactive.
|
10.
|
(Optional) Use the Add and Delete buttons to add or remove items from the list. |
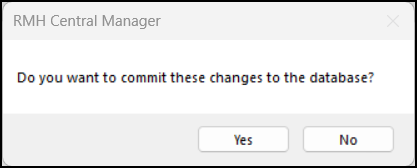
A message displays asking if you want to commit the changes to the database.
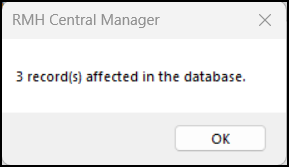
A message displays how many records were changed in the database.